New Mercedes Sprinter Van: Shelving Install
The day that we got the opportunity from T&B auto sales to install some shelves into one of their new Mercedes sprinter van was one of my favorites. Yes, it was just installing shelving, but this van is amazing, and the brand speaks for itself. Let’s dive in on how CATO installs some of their heavy duty shelving.
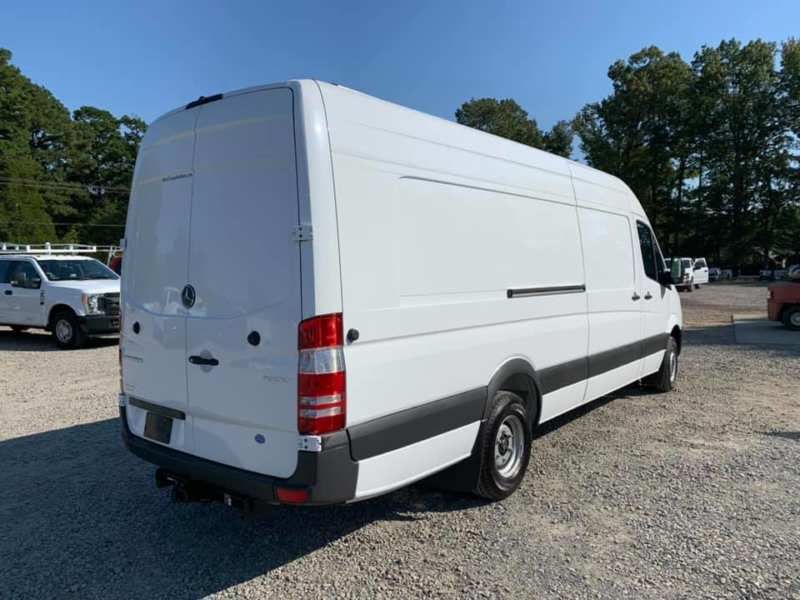
This is the new Mercedes Sprinter van that we worked on, and I have to say they are pretty impressive.
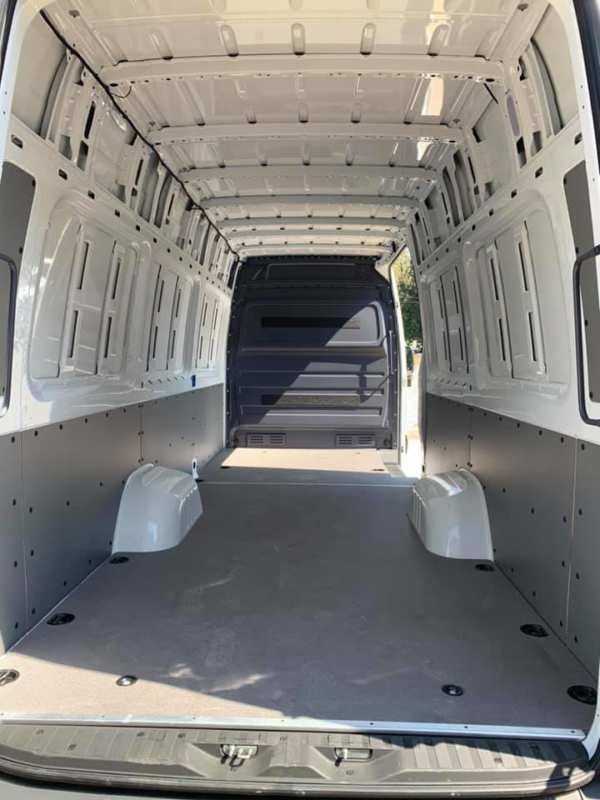
This was our workspace for the shelves, and inside one of these vans you are able to stand straight up without worrying about hitting your head. This van is brand new and very clean, so we want this van to leave the same way it came in; just with some new added upgrades.
For this van, we ordered three shelves to be installed. One 30 inch shelf that will be mounted on the passenger side over the back fender well. A 60 inch shelf bolted together with another 30 inch shelf that will be mounted on the driver side of the van over the fender well up to the back of the cab. We mounted the shelves this way due to the side sliding door on the passenger side so that the customer still has access through that door.
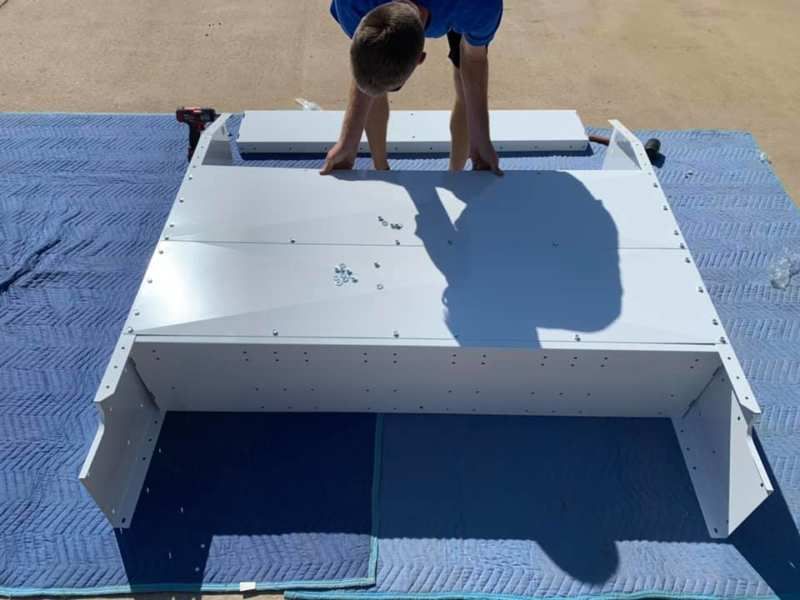
The shelves are bolted together with the back of the shelf facing up. You then simply attach the bottom shelf to the sides, and one back panel and repeat the process until the whole shelf is built. Tighten all the bolts, stand it up and the shelf is complete. Here you can see Mike attaching the last back panel of this shelf.
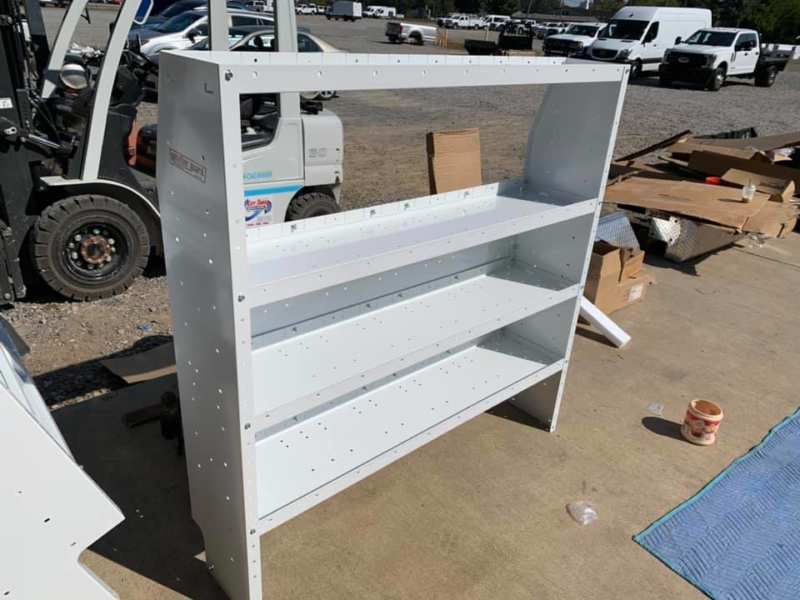
Here is what a completed 60 inch self looks right out of the box. excuse the mess in the background, a lot of unboxing took place to build these shelves.
Once all three shelves were built it was now time to install them into the van. Before we set all the shelves into the van, we went ahead and bolted together the 60 inch shelf and one of the 30 inch shelves. That way when we pre set them in the van we know exactly where we want to drill out our holes into the floor of the van.
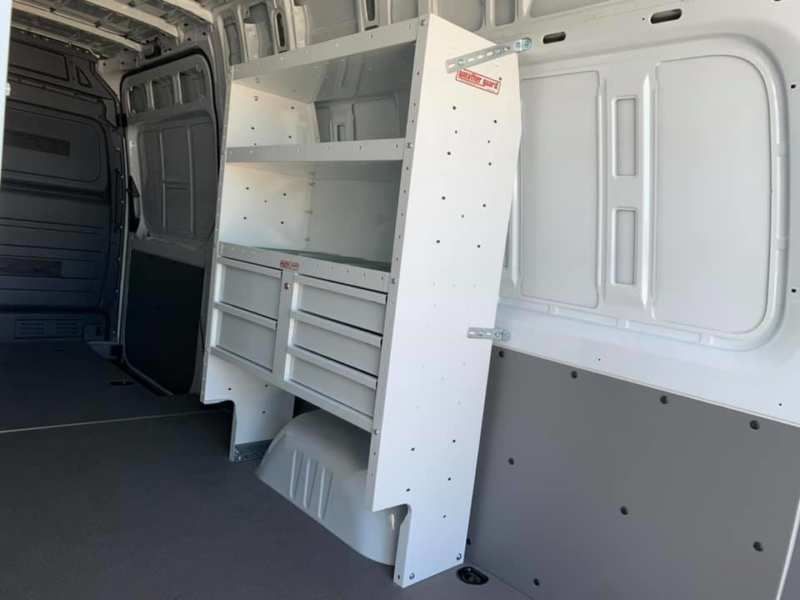
Here is the 30 inch shelf mounted and ready to use. As you can see we have mounted two brackets on each side of the shelf as well as four more bolts in the floor of the van to really secure this shelf when the van is moving.
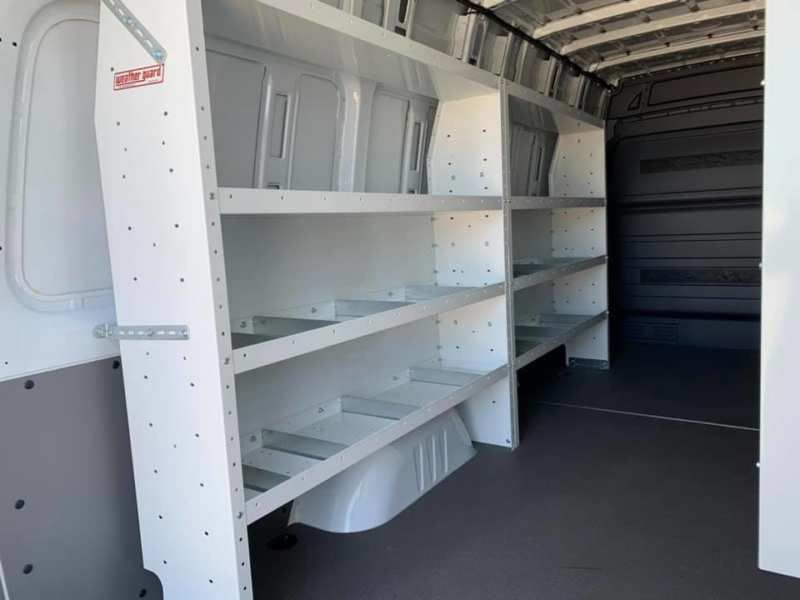
On the driver side of the van, we have the 60 inch and 30 inch shelves mounted together with again two mounting brackets on each side and six bolts through the floor. I tried tipping over the shelves, and let me tell you, these shelves aren’t going anywhere.
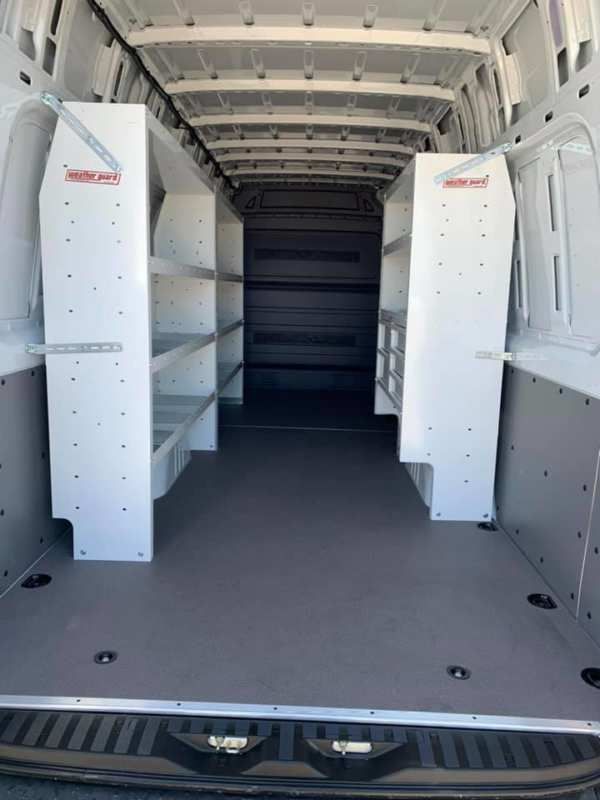
Here is the full picture of the back of the van with all of the shelves mounted, secured ready for action.
It was an absolute pleasure working on one of these new Mercedes vans. If you can tell, we made sure that the van was spotless before we handed back the keys. It is critical that we keep our customer’s vehicles looking great, and with these shelves installed, this van is ready to hit the road with one happy customer.

